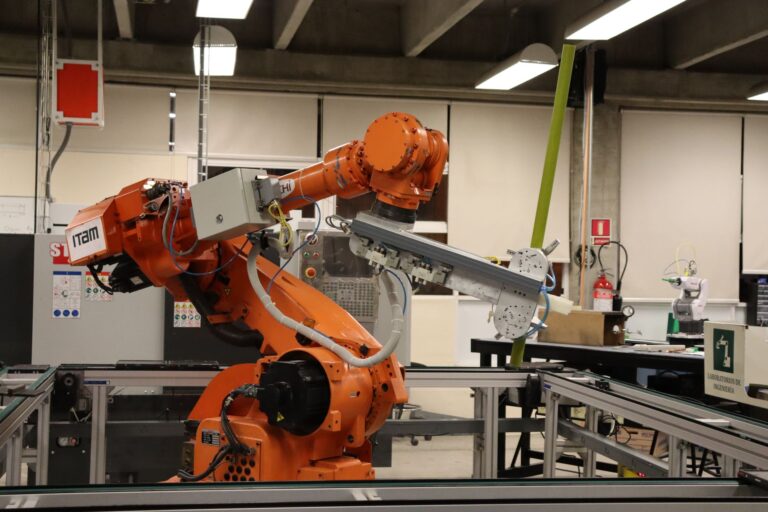
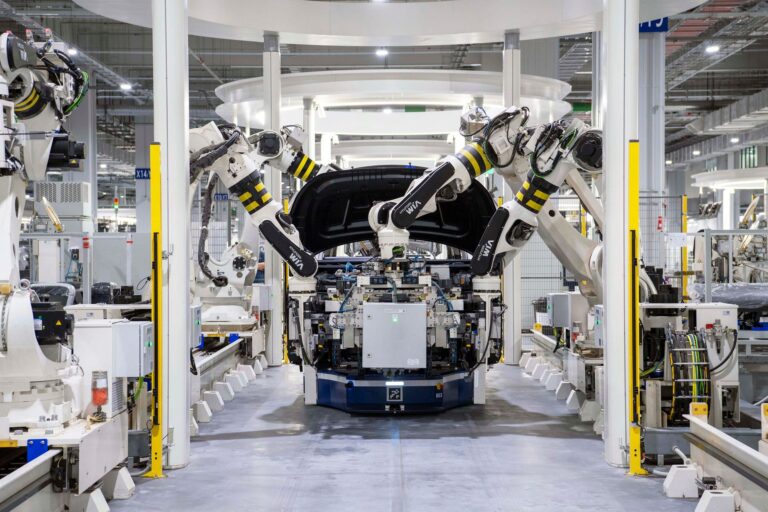
3D printing construction robots are automated machines that build structures by depositing building material layer by layer. They follow a digital model to form walls, slabs, and other shapes without conventional formwork. The most common setups print with a cement-based mortar through a nozzle guided by a gantry or robotic arm. Readers evaluating automation can use this guide to match machine type, material, and site needs.
Table of Contents
- How does the printing process work?
- What types of machines are used?
- Which materials and structures fit best?
- What limits performance on real sites?
How does the printing process work?
A design model is converted into toolpaths that tell the nozzle where to move and how much material to release. The robot then lays one horizontal bead at a time, and each bead bonds to the one below as it stiffens. Most systems print hollow wall profiles rather than solid blocks.
The cavities can carry insulation, wiring, or vertical reinforcement placed by workers during pauses in printing. Speed depends on part shape, mix behavior, and curing time between layers. Operators adjust flow, nozzle height, and travel speed to keep beads stable and joints aligned.
What types of machines are used?
Gantry systems move a print head across rails set around the building footprint. They cover large rectangular areas with steady motion, but need flat ground and time for setup and alignment. Robotic arms mount a nozzle on an articulated joint package, often on a fixed base or mobile platform.
They reach around corners and complex shapes more easily, but cover a smaller working zone per setup. Smaller mobile units and crane-style printers extend reach for on-site work. Each style trades build volume, accuracy, transport effort, and setup complexity in a different way.
Which materials and structures fit best?
Printable mixes use fine aggregate, cement binders, and additives that control flow and early stiffness. The mix must pump smoothly, hold shape after extrusion, and bond strongly between layers. Simple single-story walls, partitions, shelters, and landscape elements are practical starting points.
Repetitive geometry reduces starts and stops, which improves bond quality and surface finish. Openings for doors, windows, and services need planning before printing. Teams often pause the print to set frames, inserts, or reinforcement, then resume around them.
What limits performance on real sites?
Weather, uneven ground, and material variation affect print quality more than lab tests suggest. Wind can dry exposed beads, rain can weaken fresh layers, and cold or heat changes set time.
Printed walls handle compression well, but tension, bending, and seismic loads still need engineering. Reinforcement, foundations, roofs, and connections usually require conventional crews and inspections. Adoption works best with a clear checklist: A short trial wall reveals most site and material issues before full production.
- Match machine reach and setup needs to lot size and access
- Test the local mix for pumping, shape retention, and layer bonding
- Plan pauses for reinforcement, utilities, and openings
- Assign roles for machine tending, quality checks, and cleanup